
This is the first in a three-part series of posts that we originally wrote for balloon-juice.com; we’re republishing those posts here to accompany our podcast episodes on Hadrian’s Wall, the first of which you’ll find here. We hope that you’ll find the narrative and photos here to be a satisfying complement to the episodes themselves.
Note that while the travelogue portions of our episodes (Parts II, III, and IV) start at Segedunum (Wallsend) and present Hadrian’s Wall path from east to west, these posts start on the other end at Bowness-on-Solway. Together, the episodes and the posts should give you a good sense of what it’s like to walk the path in either direction. :)
(For Part II in this blogpost series, click here; for part III, click here.)
*****
By the middle of the 2nd century CE, the Romans had constructed a complex series of frontier installations in northern Britain. Hadrian’s Wall (“the Wall”) is the most well-known element of these installations. Featuring a stone curtain wall punctuated by milecastles, turrets, and forts, as well as ditches to the north and south, it stretched 80 Roman miles from what is now Newcastle-upon-Tyne to the Solway Firth.
Although it might be tempting for Americans in particular to draw a direct comparison between the Wall and the various walls proposed for the southern border of the United States, the Wall was not a “border wall”, simply because Romans in Hadrian’s era did not see Roman power as something that had fixed and immutable limits. Rather, the Wall—like comparable installations in e.g. Germany—had a rather different function. It helped Romans control the flow of people between two different kinds of social and economic zones: those “inside” the wall, which were dominated by settled agriculture and settled populations that could be easily taxed and controlled, and those “outside”, which had higher concentrations of mobile pastoralists and fewer big, permanent settlements. The Wall was therefore one element in a much wider frontier zone, which—to the Roman mind—separated peoples who had already been incorporated into the Roman imperial order from those who had yet to be properly “civilized”.
Today, Hadrian’s Wall Path—an 84-mile-long hiking trail maintained by Natural England—allows ramblers to explore the old line of the Wall. Adhering as closely as it can to where the Wall once stood, it leads hikers through open country, charming villages, and archaeological parks dedicated to the UK’s long past (Roman and otherwise). Visitors can plan true through-hikes, stopping at a different B&B every night, or they can walk bits of the trail on day trips. We’ve completed two separate through-hikes: in August and September of 2010, we followed the path from Newcastle-upon-Tyne in the east to Bowness-on-Solway in the west over a period of nine days; eight years later, in May and June of 2018, we spent eight days hiking in the opposite direction. The pictures that follow are drawn from both of those trips, but are organized to display the west-to-east route (we think this is the best way to walk the trail, since it builds to a dramatic climax with the walk into vibrant Newcastle).
The Pavilion at Castra Maia (Mile 0)
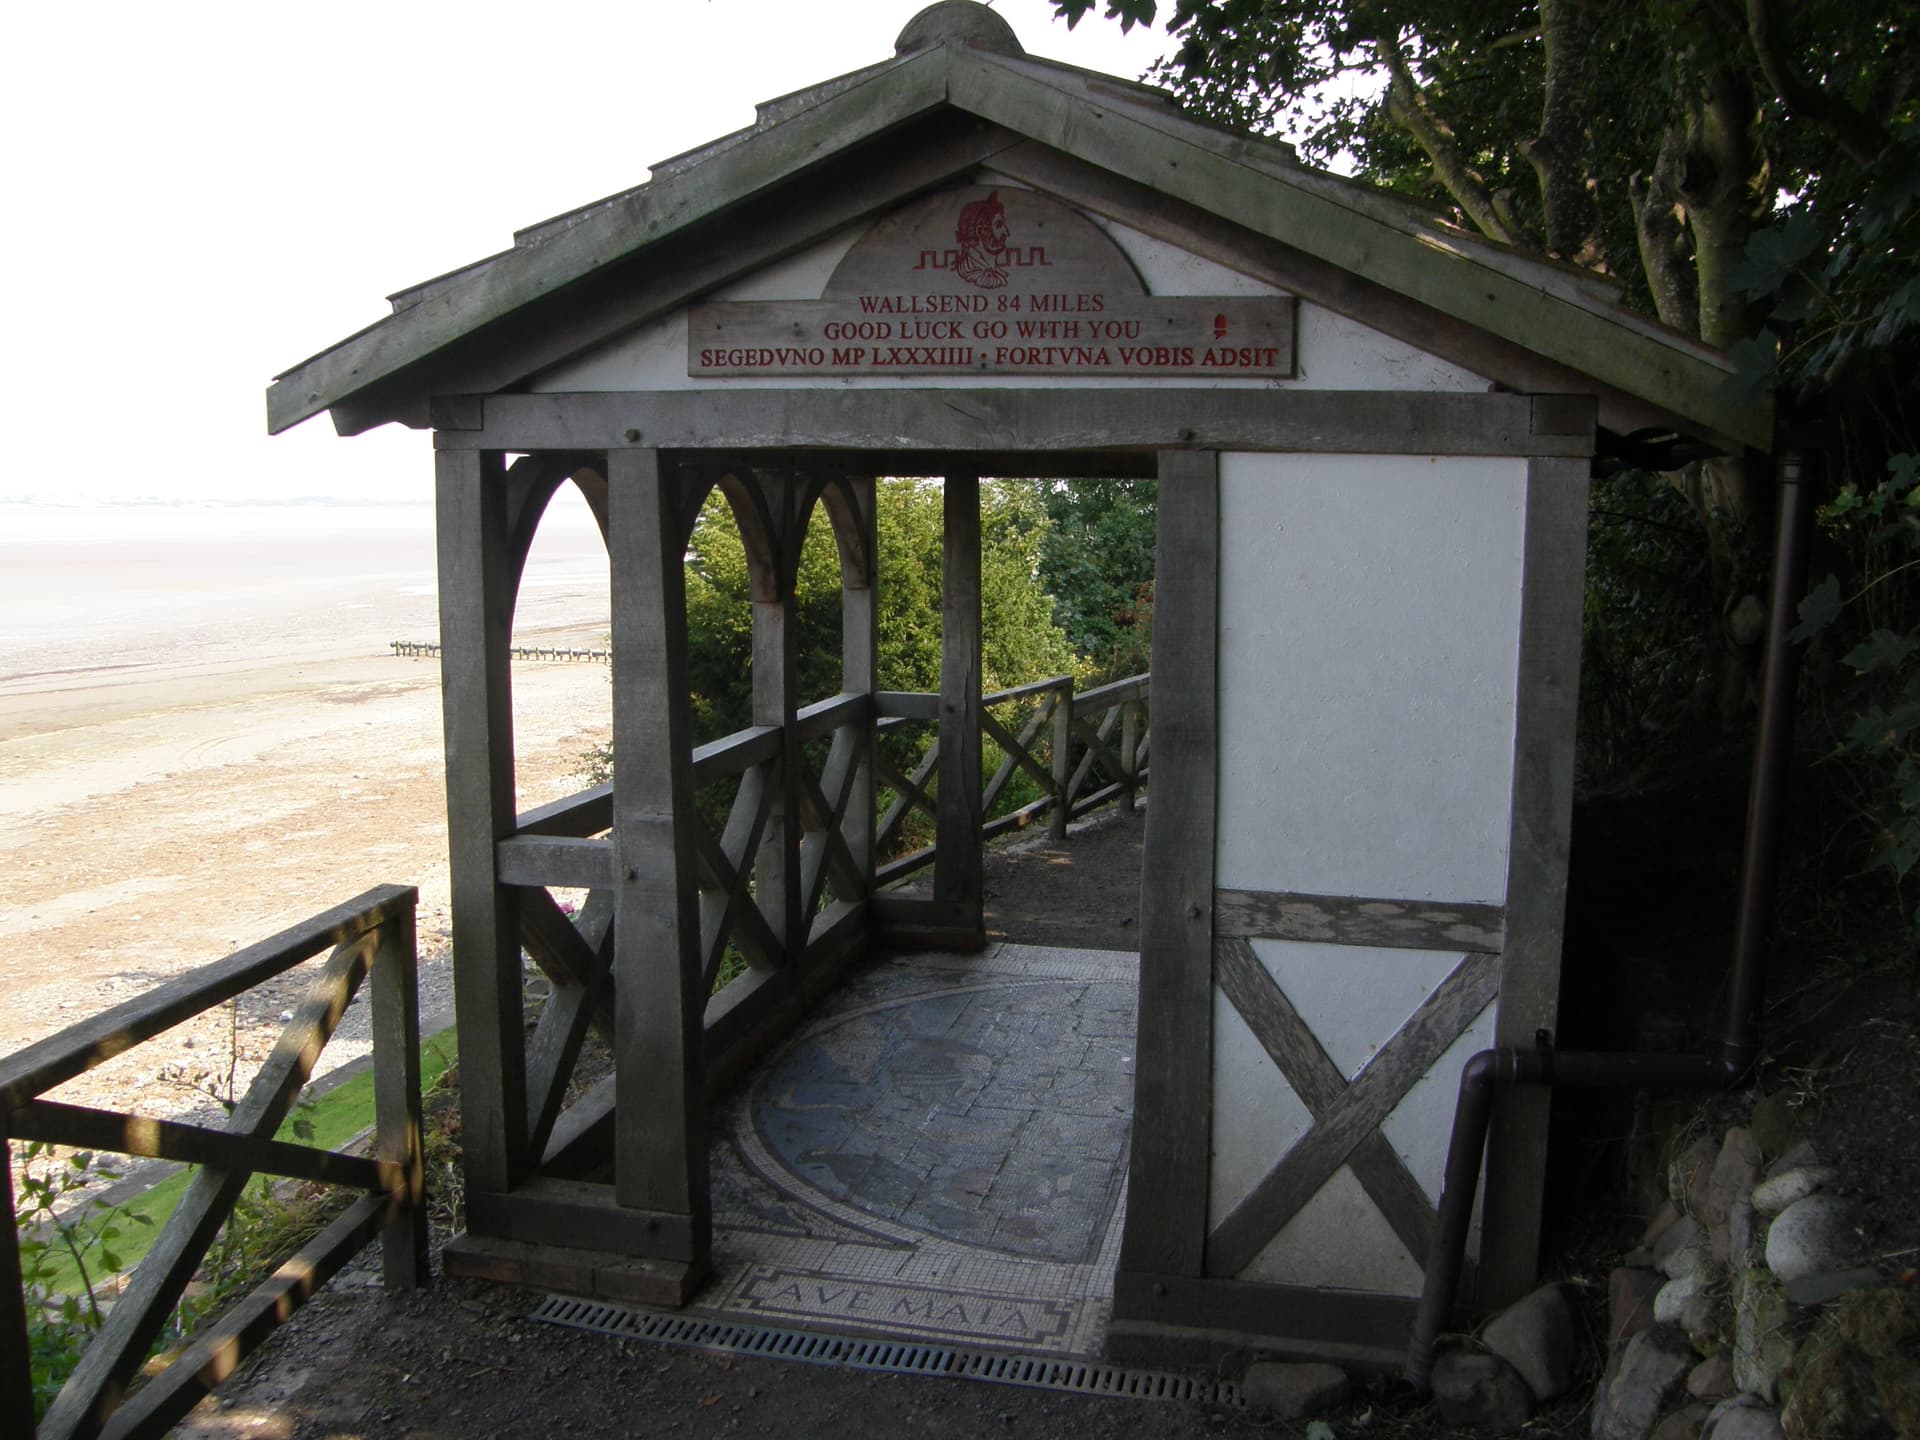
From the west, the path proper begins at Bowness-on-Solway, a quiet little town on the Solway Firth. English Heritage maintains this nice little pavilion, where hikers just starting out on their journey can gaze out over the tidal flats, and those finishing up can flop down and rest while they wait for the bus to Carlisle. Locals spend time here too. When we ended our first hike here in 2010, an old man in a powered wheelchair drove into the pavilion while we were taking a well-deserved break, stopped to look north toward Scotland, and muttered “Cannibals!” Memories of the violent raiding conducted by the English and Scots against one another across the medieval and early modern frontier apparently live on.
The Latin on the sign mounted on the building’s pediment translates the English above it; Segedunum was (probably) the Roman name for the fort at the wall’s eastern terminus at what is now Wallsend. On the threshold, a mosaic greets visitors with the legend “Ave Maia” (Greetings Maia), a reference to the probable name of the Roman fort that once stood here at the western terminus, Castra Maia (“the Greater Encampment”).
Drumburgh Castle (mile 4)
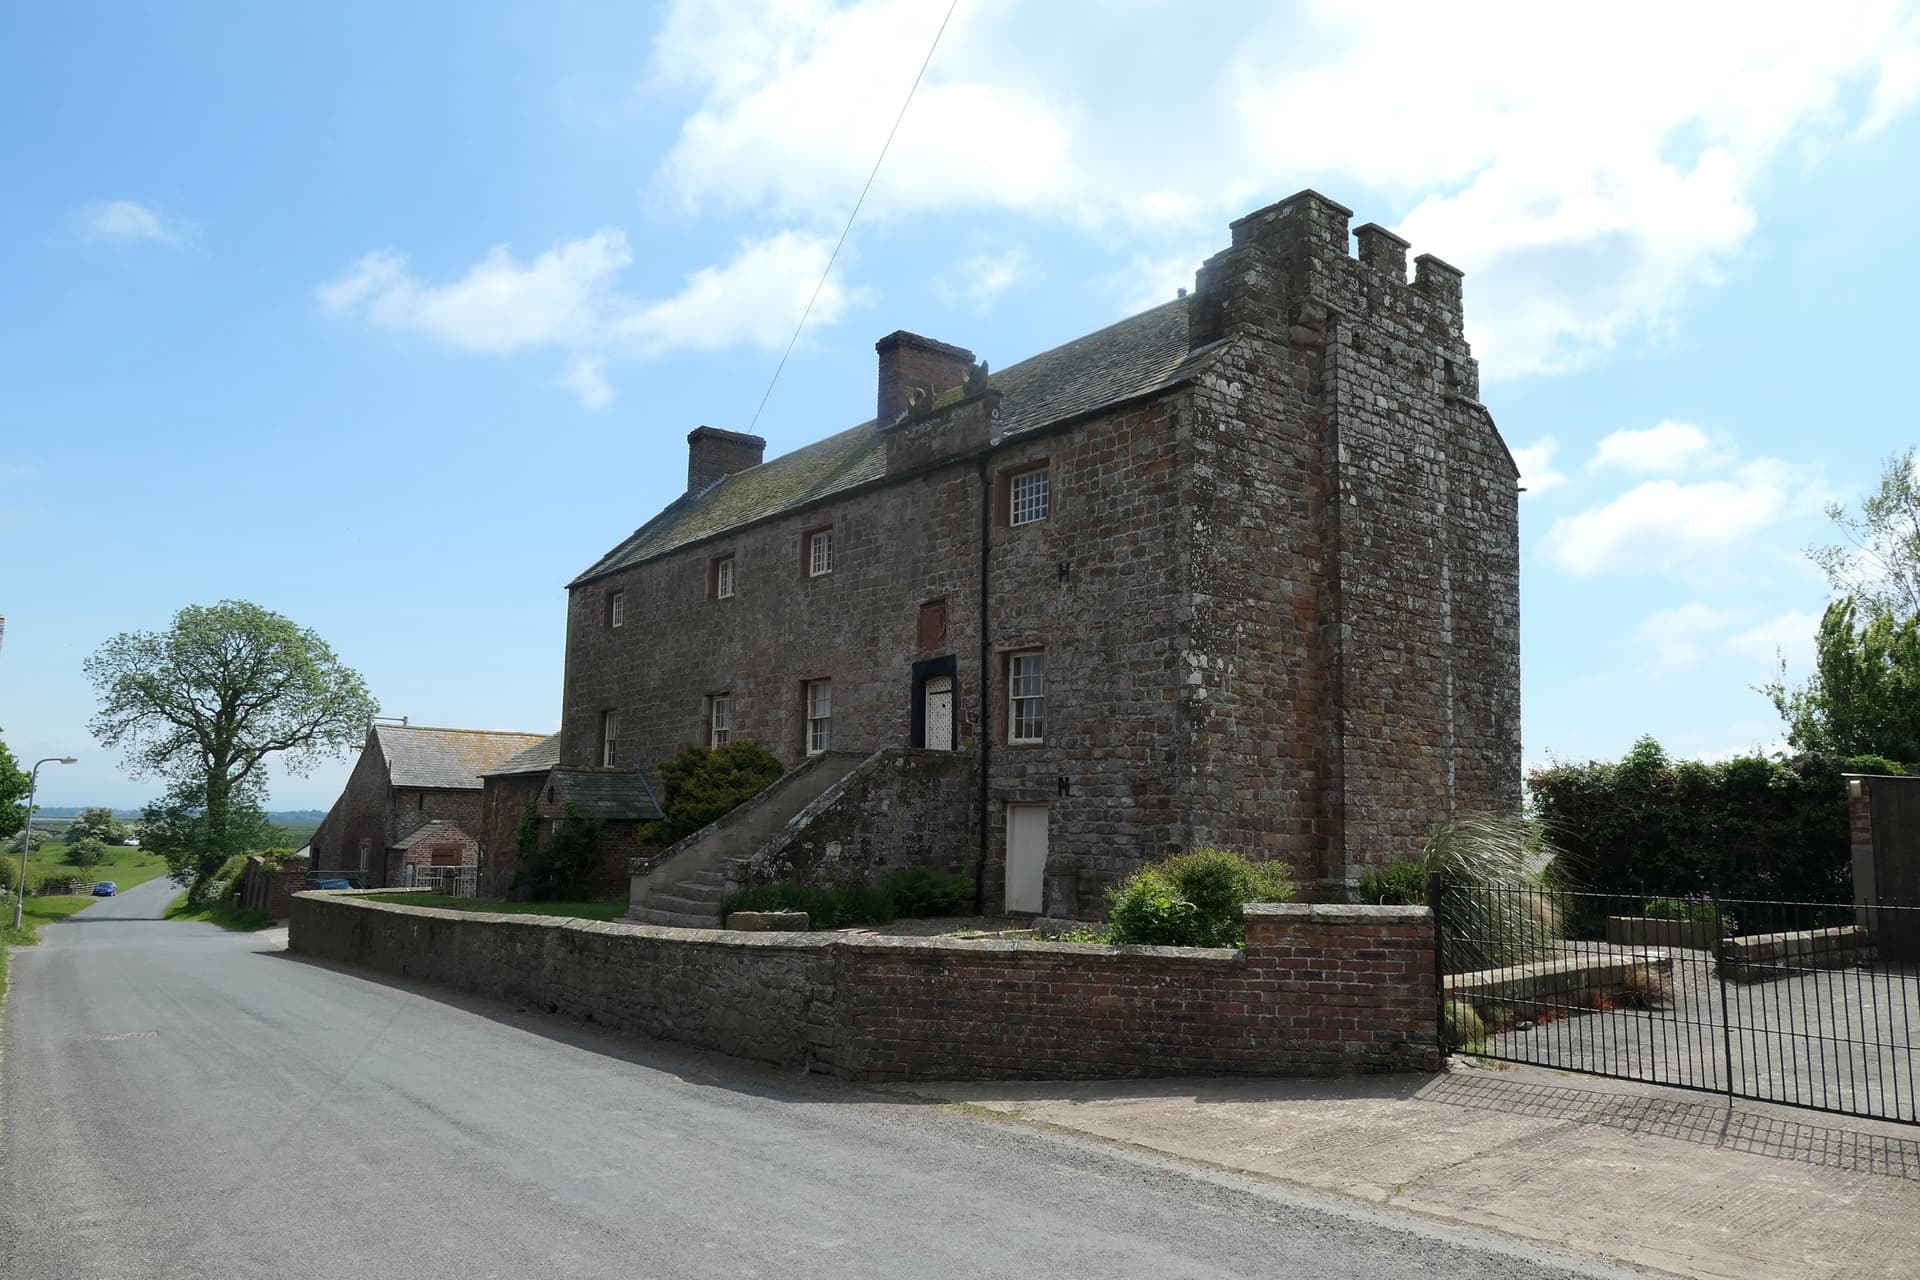
Visitors who begin the hike from the west are often surprised to discover that there isn’t much to see of the Wall itself for the first three days or so on the trail. The reason for this is straightforward. The eastern and western ends of the trail pass through countryside that has been home to lots of little villages for hundreds of years, and the inhabitants of those villages were perfectly happy to treat the wall as a quarry for well-worked stone as soon Roman power collapsed. The wall itself may not survive along these portions of the trail, but generations of locals recycled the stone they harvested from it (colloquially called wallstone) into new buildings, like this impressive 16th-century fortified manor house, Drumburgh Castle (which the locals pronounce Drum-BRUFF).
The Tidal Flats (mile 4.5)
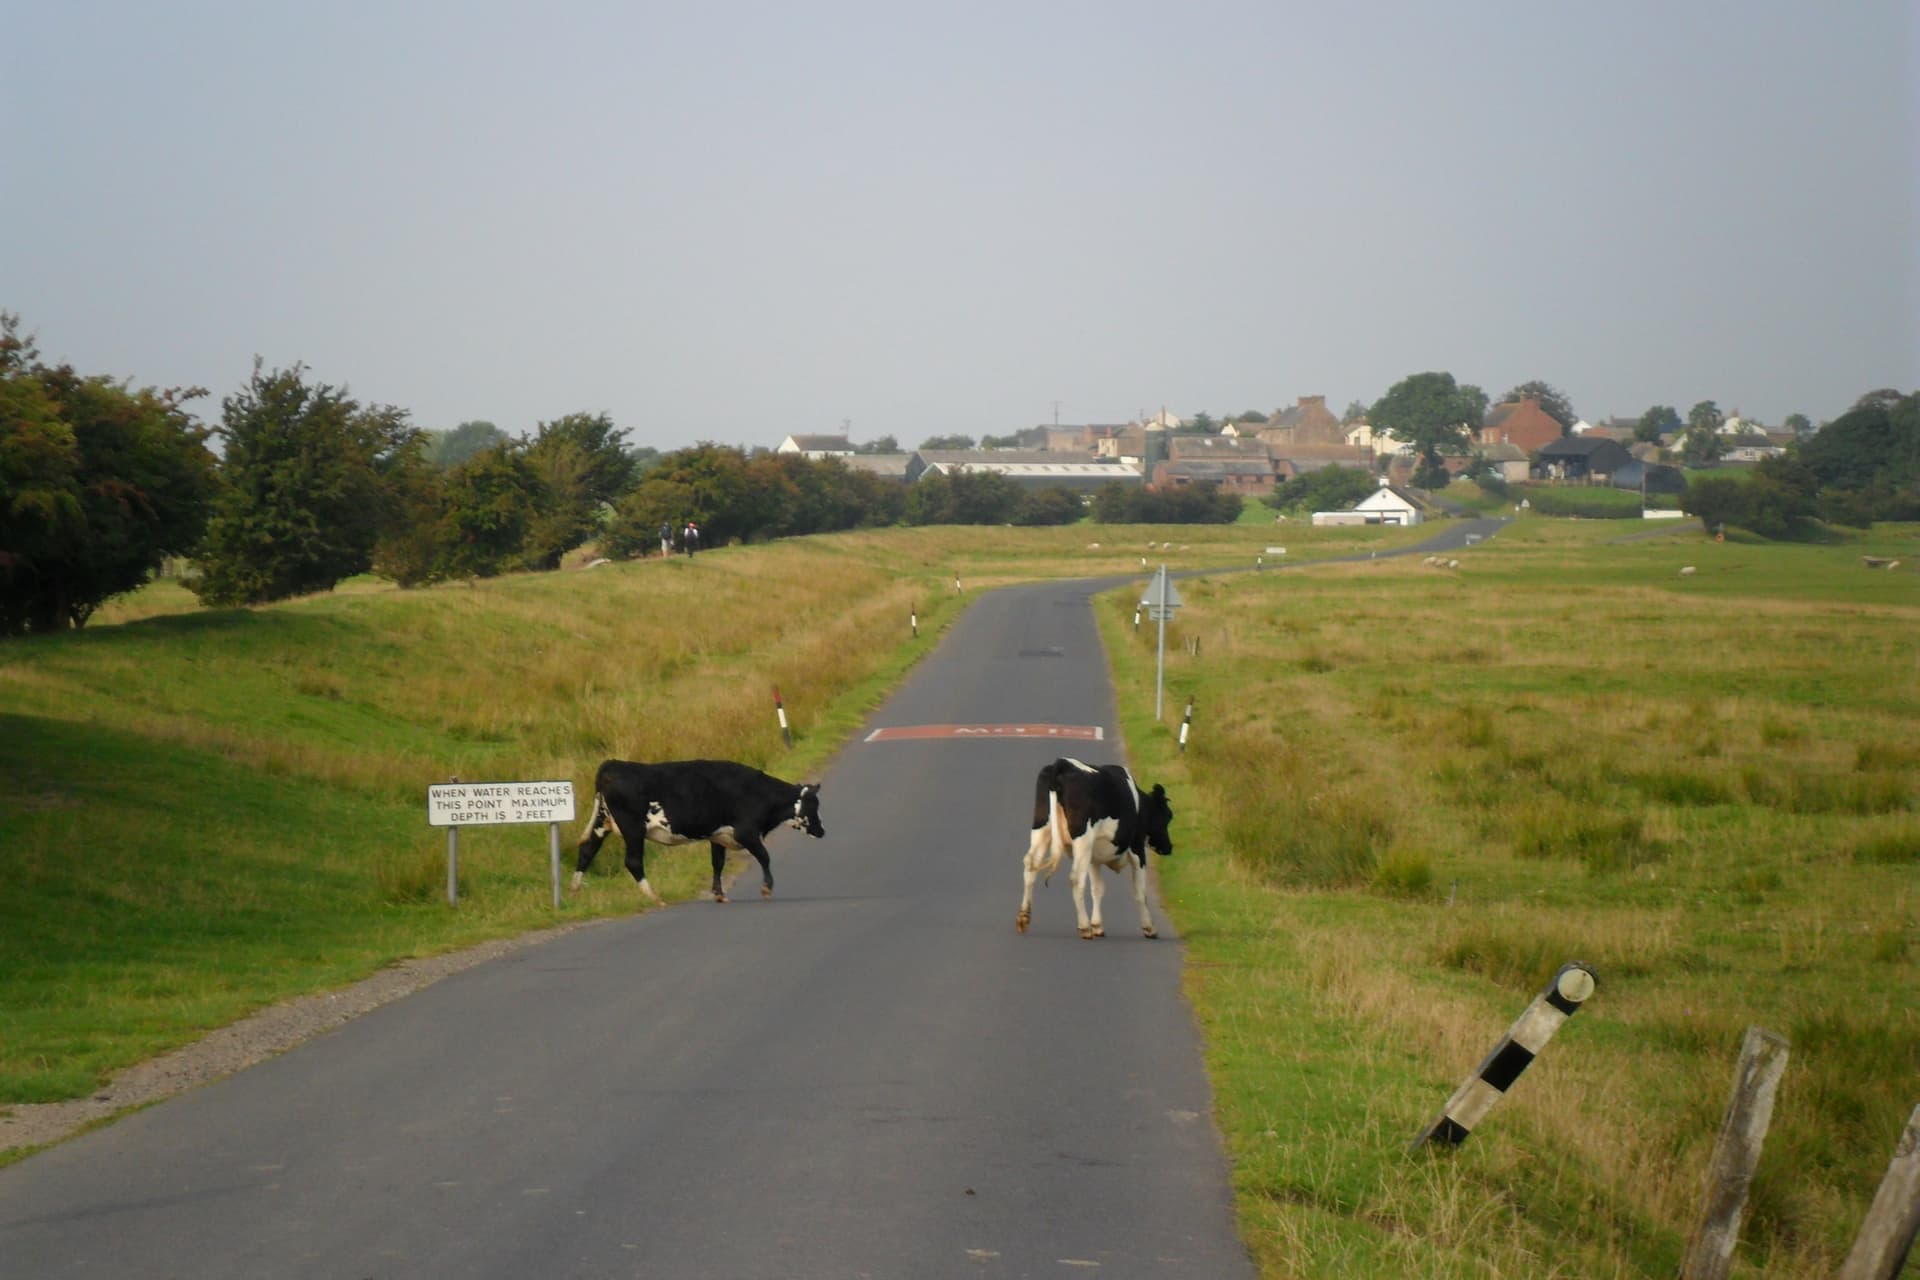
For a few miles after Drumburgh, the trail passes through countryside that regularly experiences tidal flooding. There are tide tables posted along the trail, which publicize both the time and the magnitude of high tides. Hikers are warned repeatedly to check the tables when planning their treks so that they don’t unexpectedly find themselves swimming rather than hiking. In this shot, looking back westward toward Drumburgh, you can see a couple of locals walking past a flood warning sign with their heads to the ground as though it's just part of the scenery.
Carlisle Castle (mile 13.5)
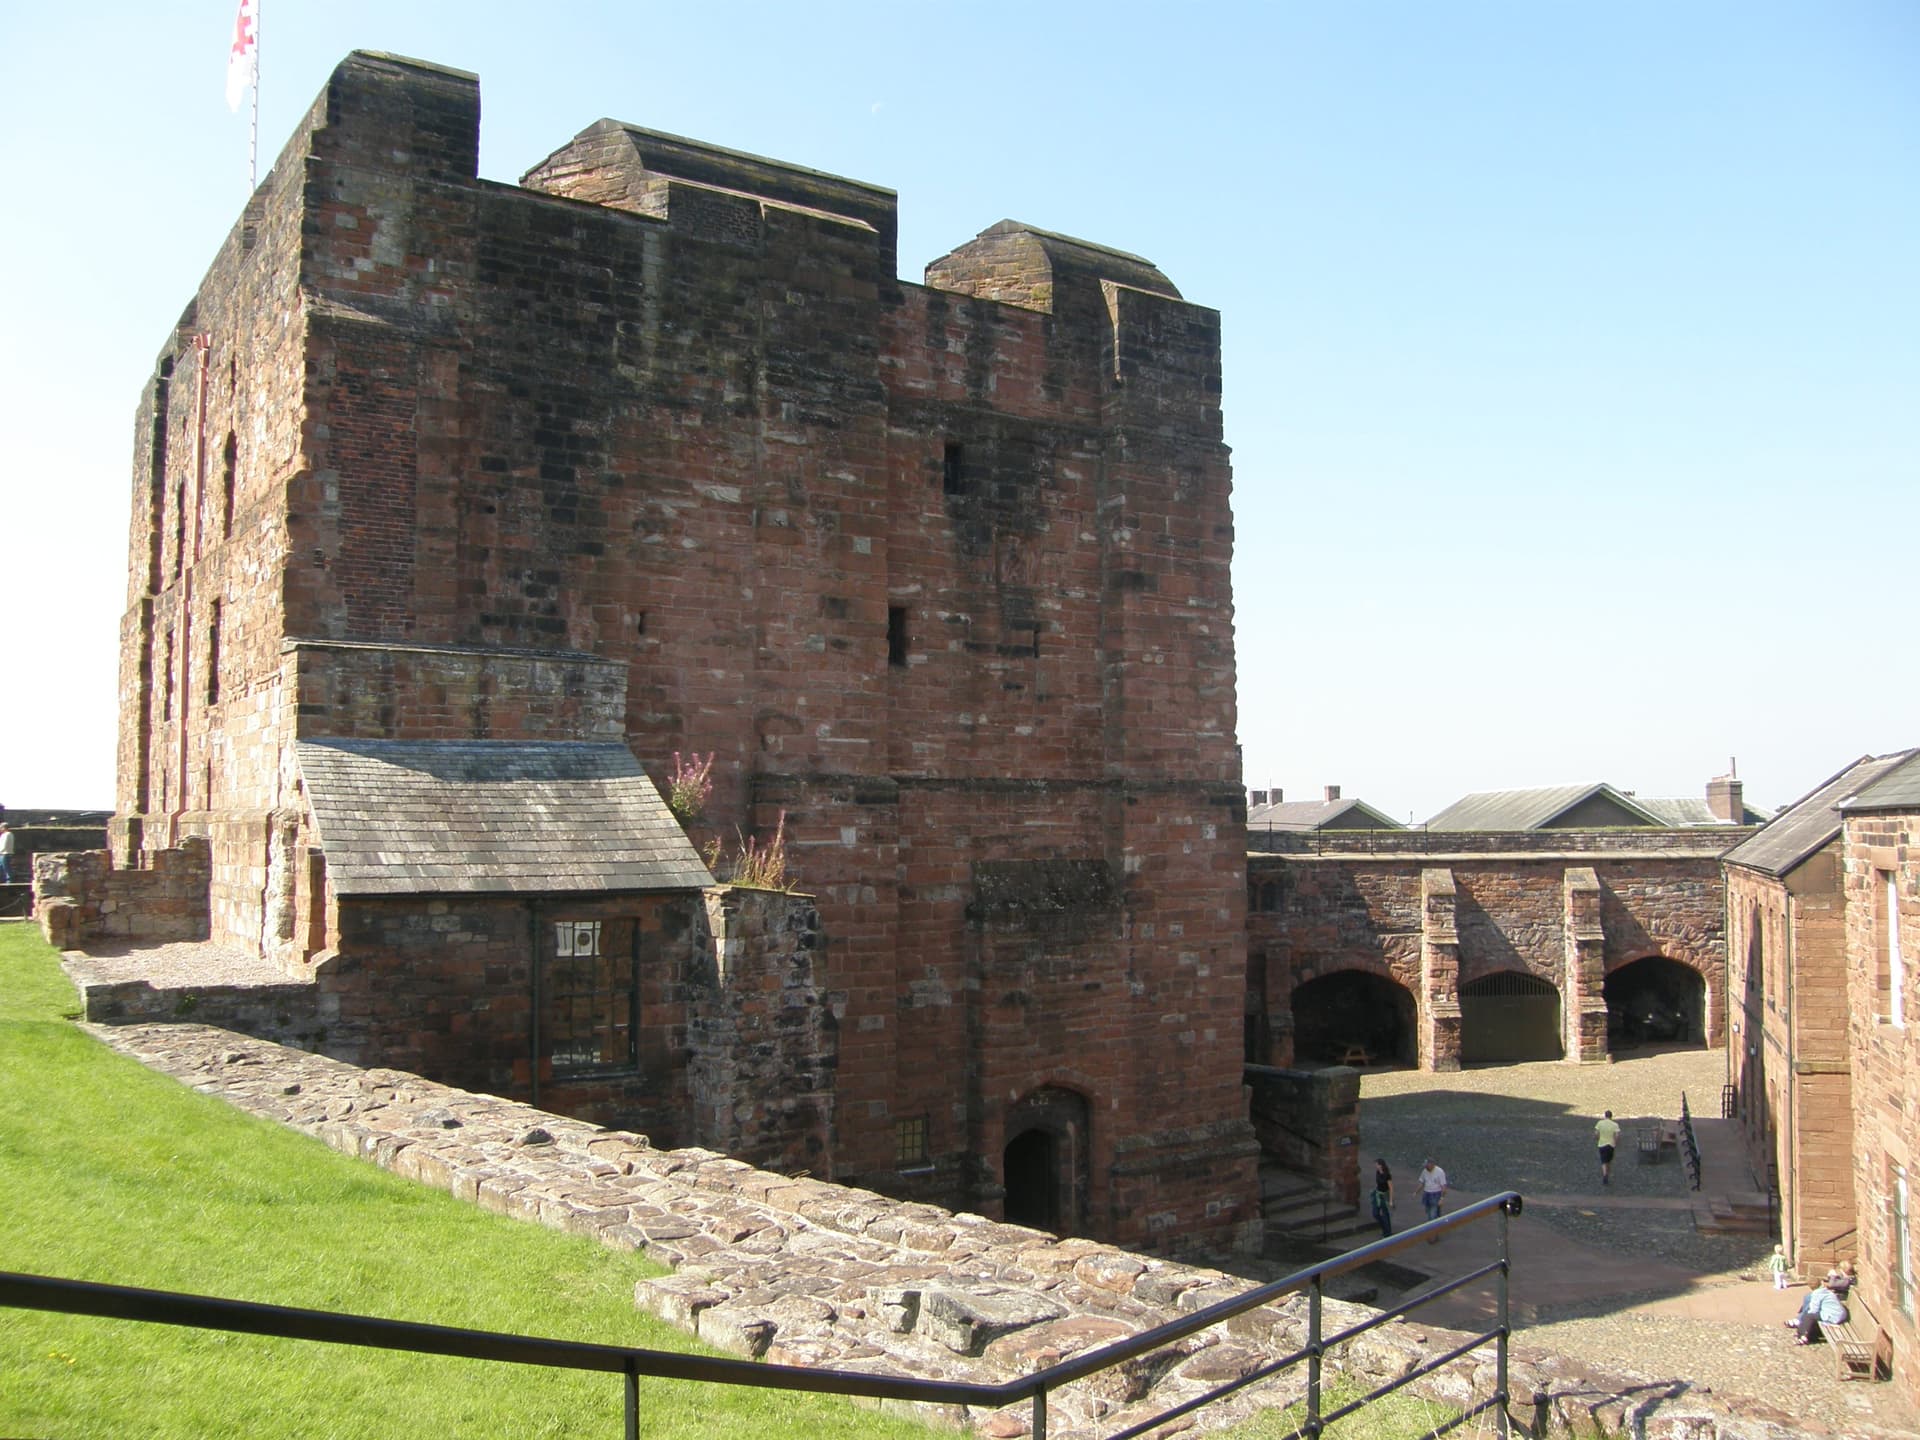
Hikers approaching Carlisle along the path are greeted by the imposing façade of Carlisle Castle. The oldest parts of this fortress date (probably) to the reign of Henry I (12th century). The castle is built from wallstone harvested from the Wall itself and from two substantial forts that the Romans constructed nearby. Carlisle and its castle became anchors of England’s frontier with Scotland; Mary Queen of Scots was imprisoned here for a bit, as were many of Bonnie Prince Charlie’s supporters.
Carlisle Guildhall Museum (off-trail, near mile 13.5)
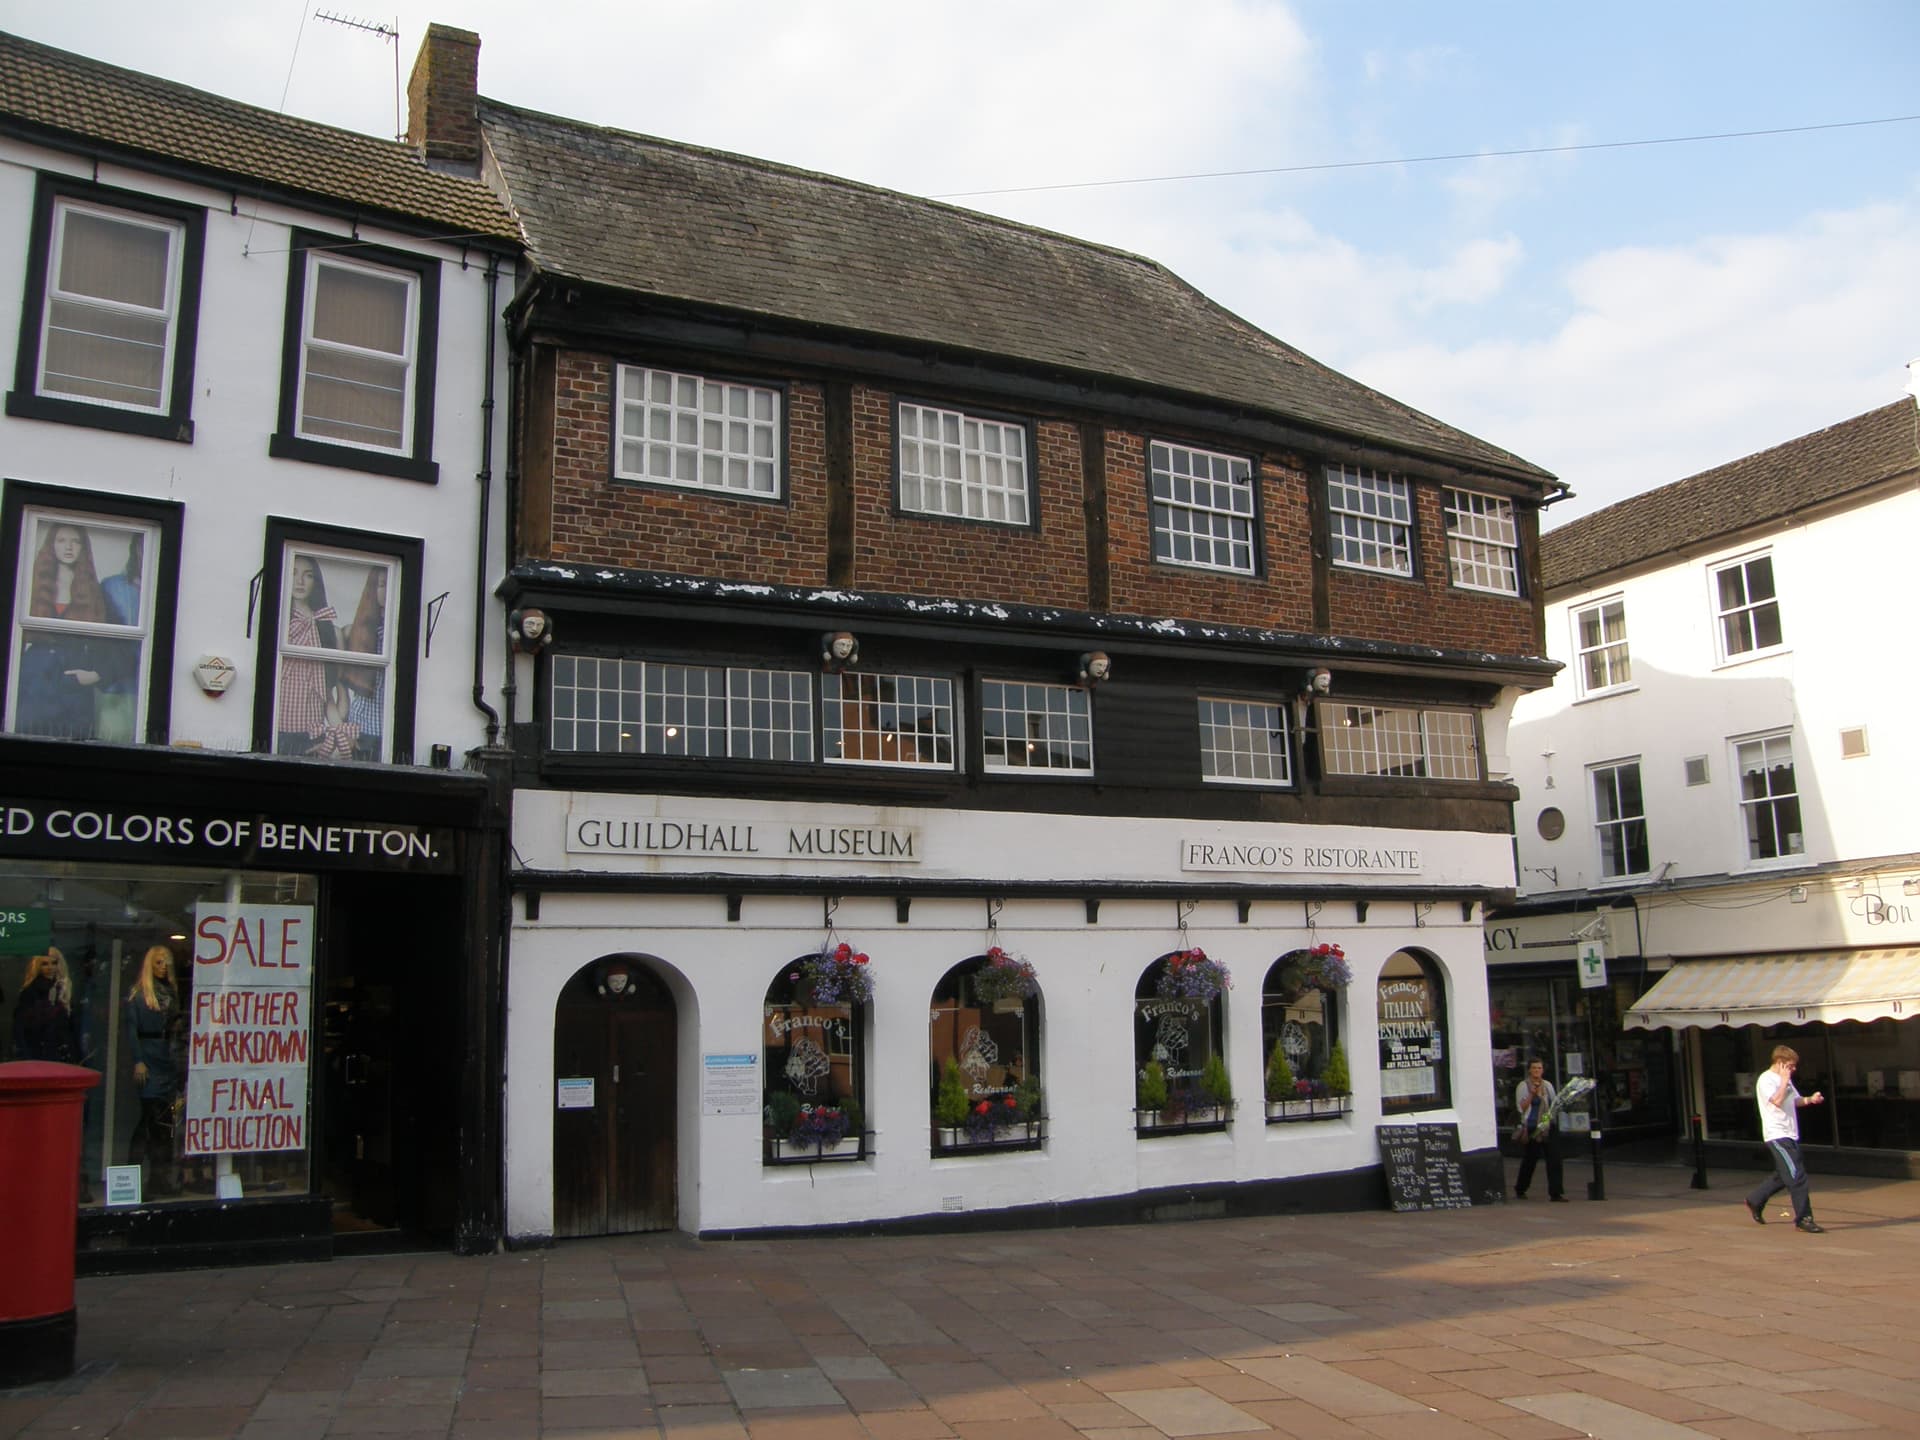
Carlisle itself is now a small but vibrant city of about 75,000 people. Like a lot of English cities, its architecture features buildings from a wide range of historical periods. The old guildhall, probably built in the late 14th or early 15th century, is one of the city’s oldest standing buildings. The ground floor houses a restaurant, but the upper floors are a museum dedicated to the city’s medieval guilds (and contain original wooden ceiling beams!). If you look closely, you can see the original carved figures decorating the building.
The Wall, near Dovecote Bridge (mile 26)
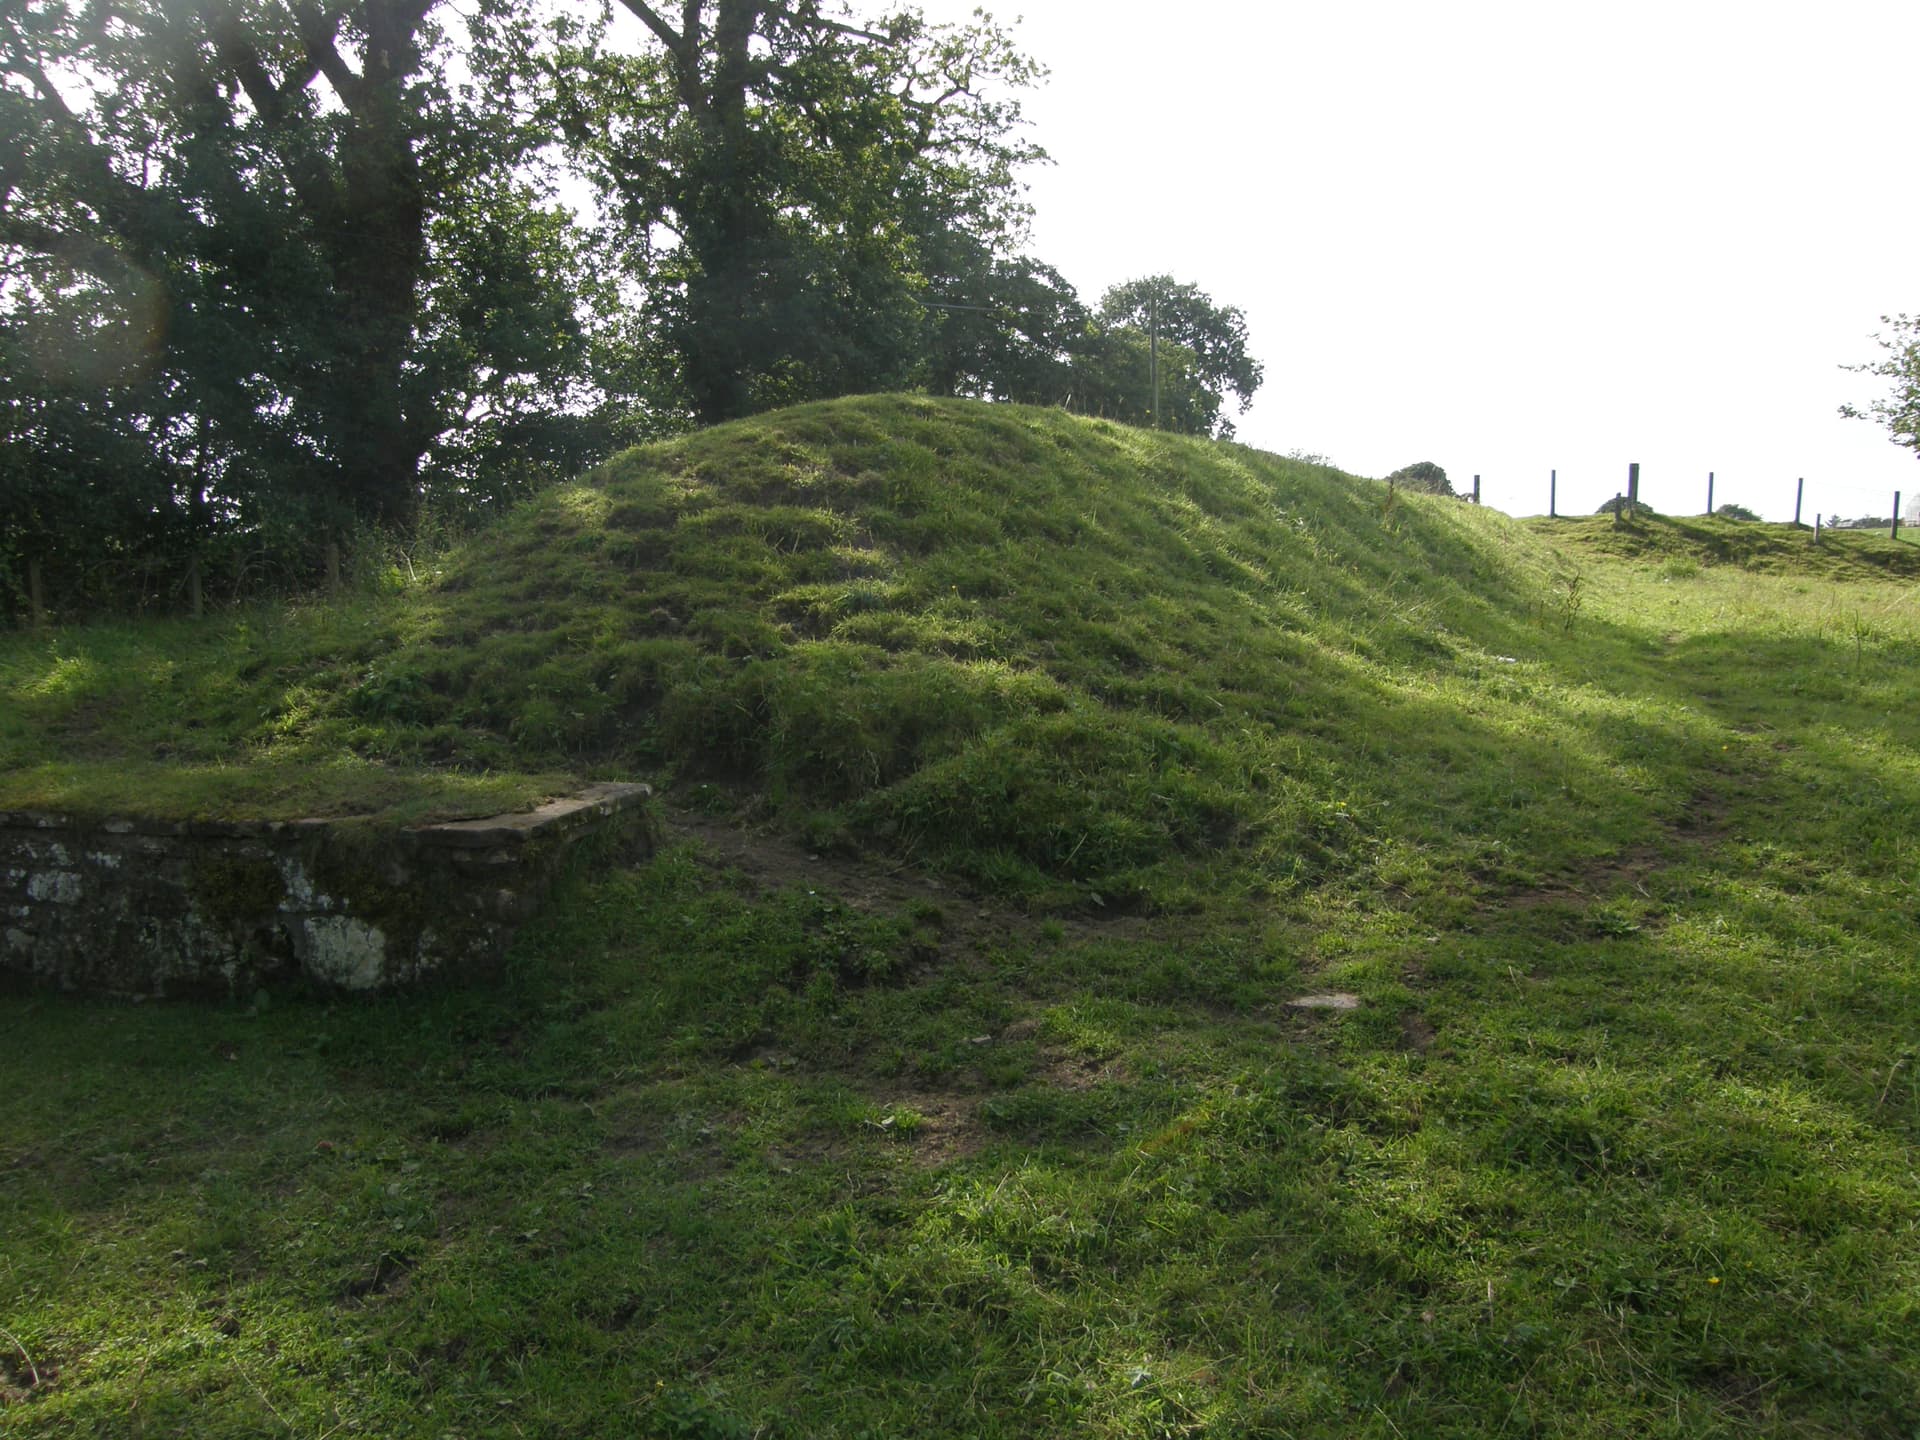
At Dovecote Bridge, hikers from the west are finally treated to their first sight of genuine, in-situ surviving remains of Hadrian’s Wall. No, not the stonework you see on the left edge of the shot, but rather the big mound of turf. It covers a few courses of Cumbrian sandstone blocks, which were excavated in 1983 and reburied in the early 2000s to protect them from erosion.
On our first trip, when we were walking from east to west, we ran into a couple of Dutch hikers a few miles to the west of here. They had started at Bowness-on-Solway, were on the third day of their hike, and desperately asked us if they would ever actually see some of the Wall. They were really excited when we said, “Yes, you’re almost there”—and almost equally crushed when we told them that the first section they’d see was indistinguishable from a pile of grass-covered dirt.
The Chancel at Lanercost Priory (off-trail, near mile 27)
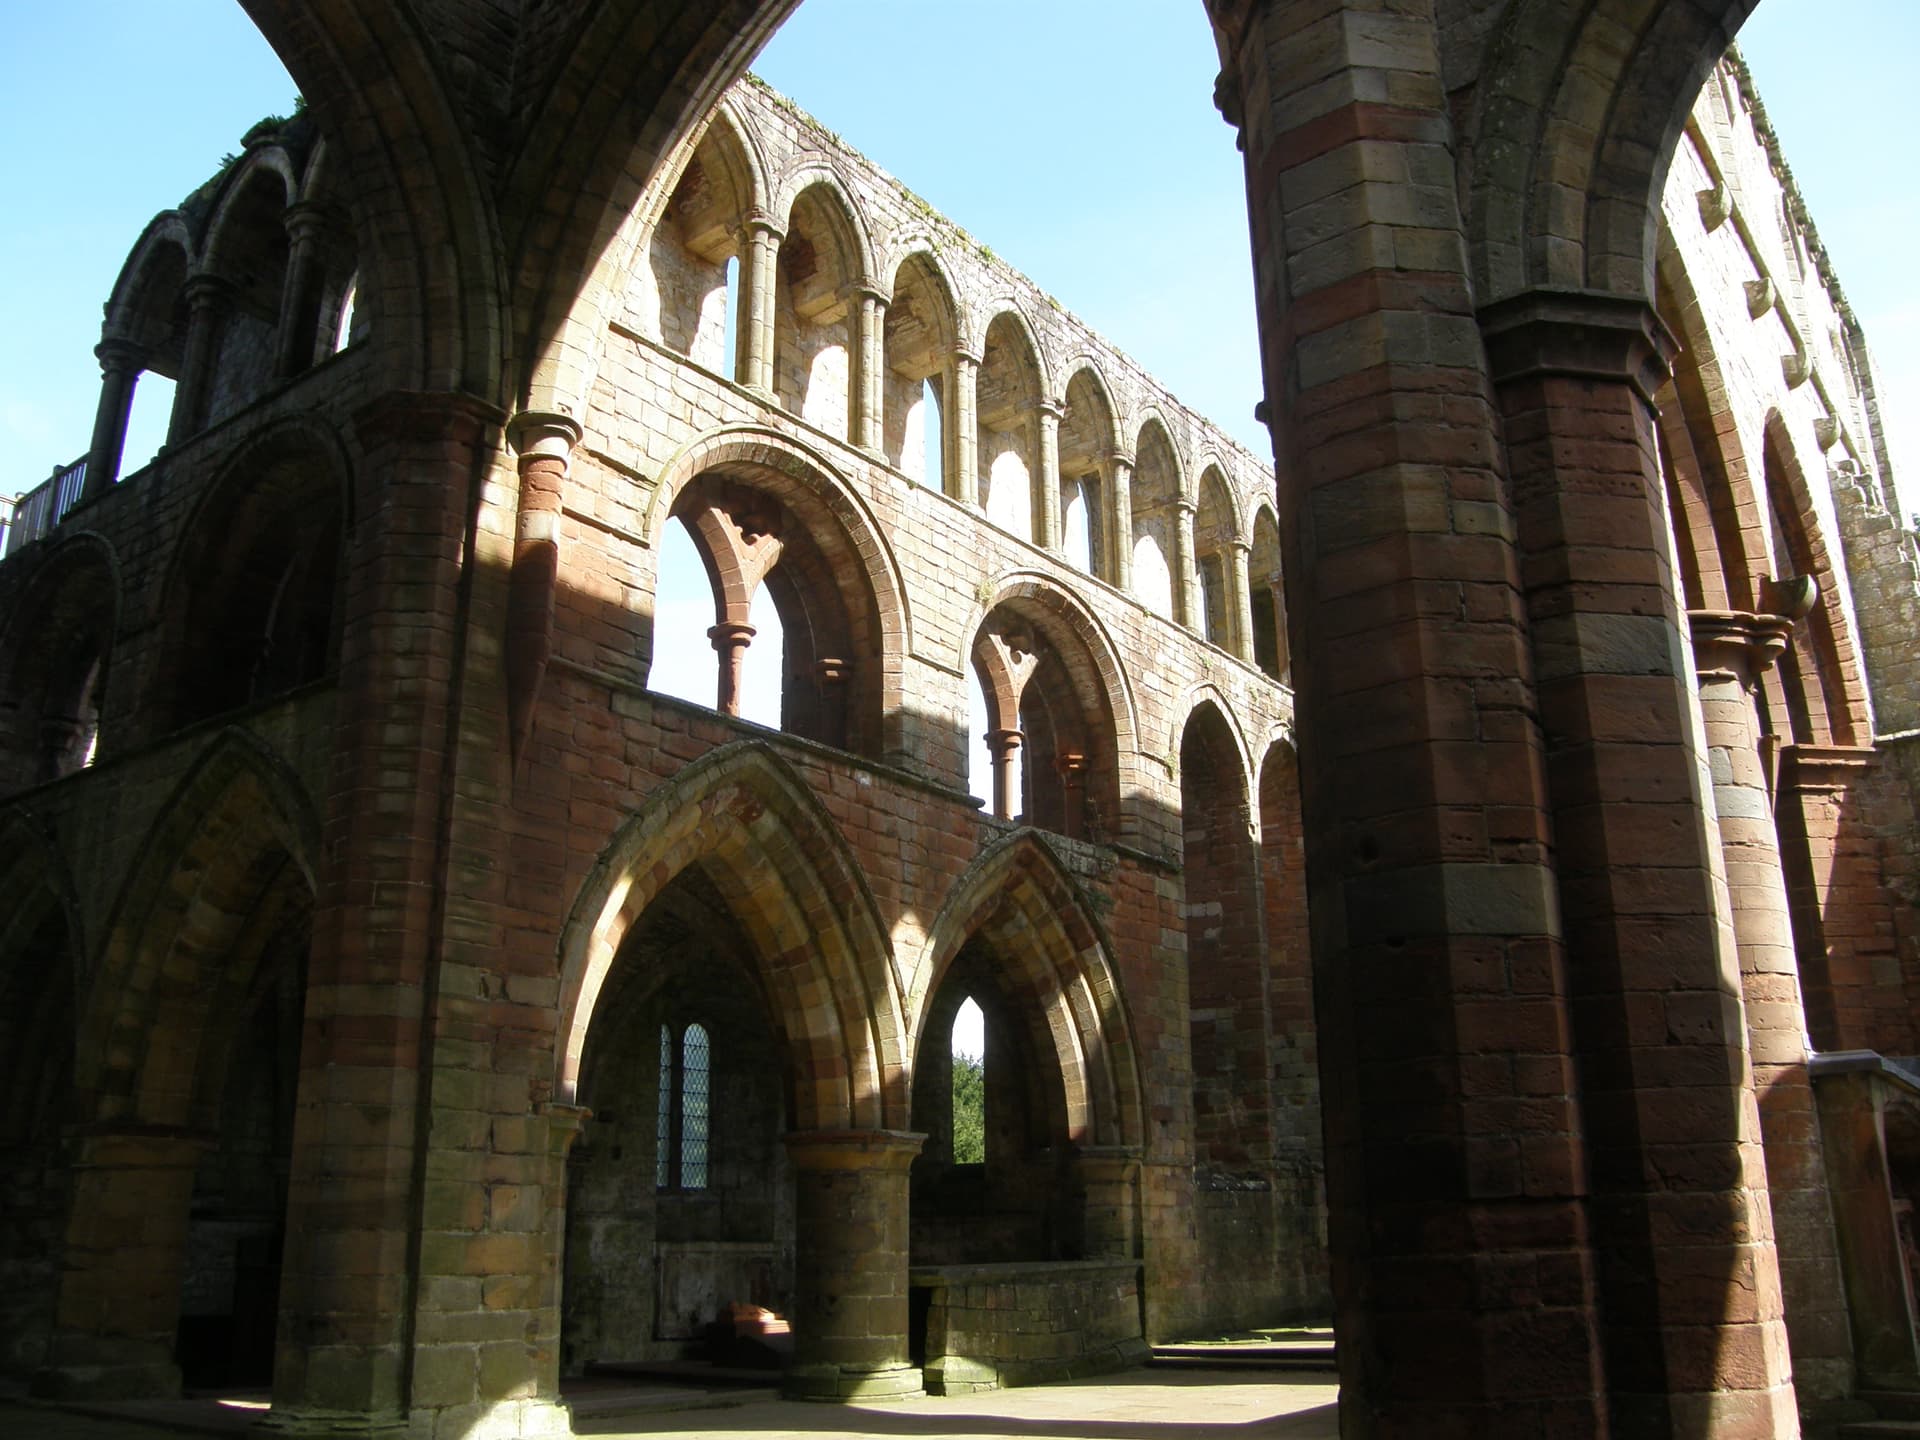
In the 12th and 13th centuries, builders working for the monks at Lanercost carried off thousands of Cumbrian sandstone blocks used by the Romans to build the Wall and used them to construct Lanercost Priory. The monastic buildings of the priory are now long gone thanks to the policies of Henry VIII, but the 13th-century church still stands. Its old nave was restored in the nineteenth century and now functions as a local Parish church; its old chancel, on the other hand, is now the glorious ruin you see here, administered lovingly by English Heritage.
Birdoswald Roman Fort (mile 32)
Just a couple of miles away from Lanercost, eastbound hikers starved for their first real glimpse of the Wall itself suddenly go from rags to riches. They first encounter a tall stretch of Roman wall rebuilt in the Victorian period at Hare Hill (mile 28.5), several low courses of stones consolidated more recently by English Heritage at Banks (mile 29), and then the spectacular remains of the ancient Roman fort at Birdoswald (mile 32).
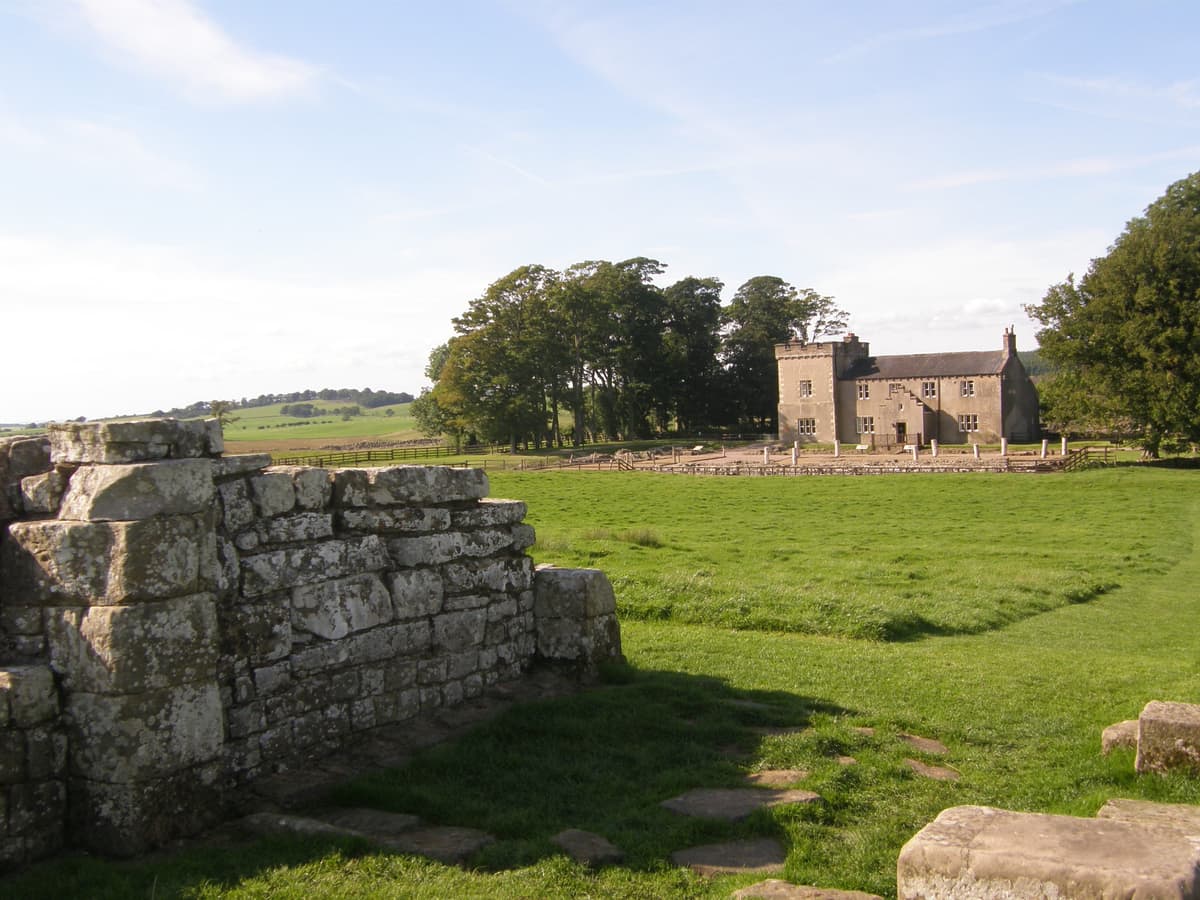
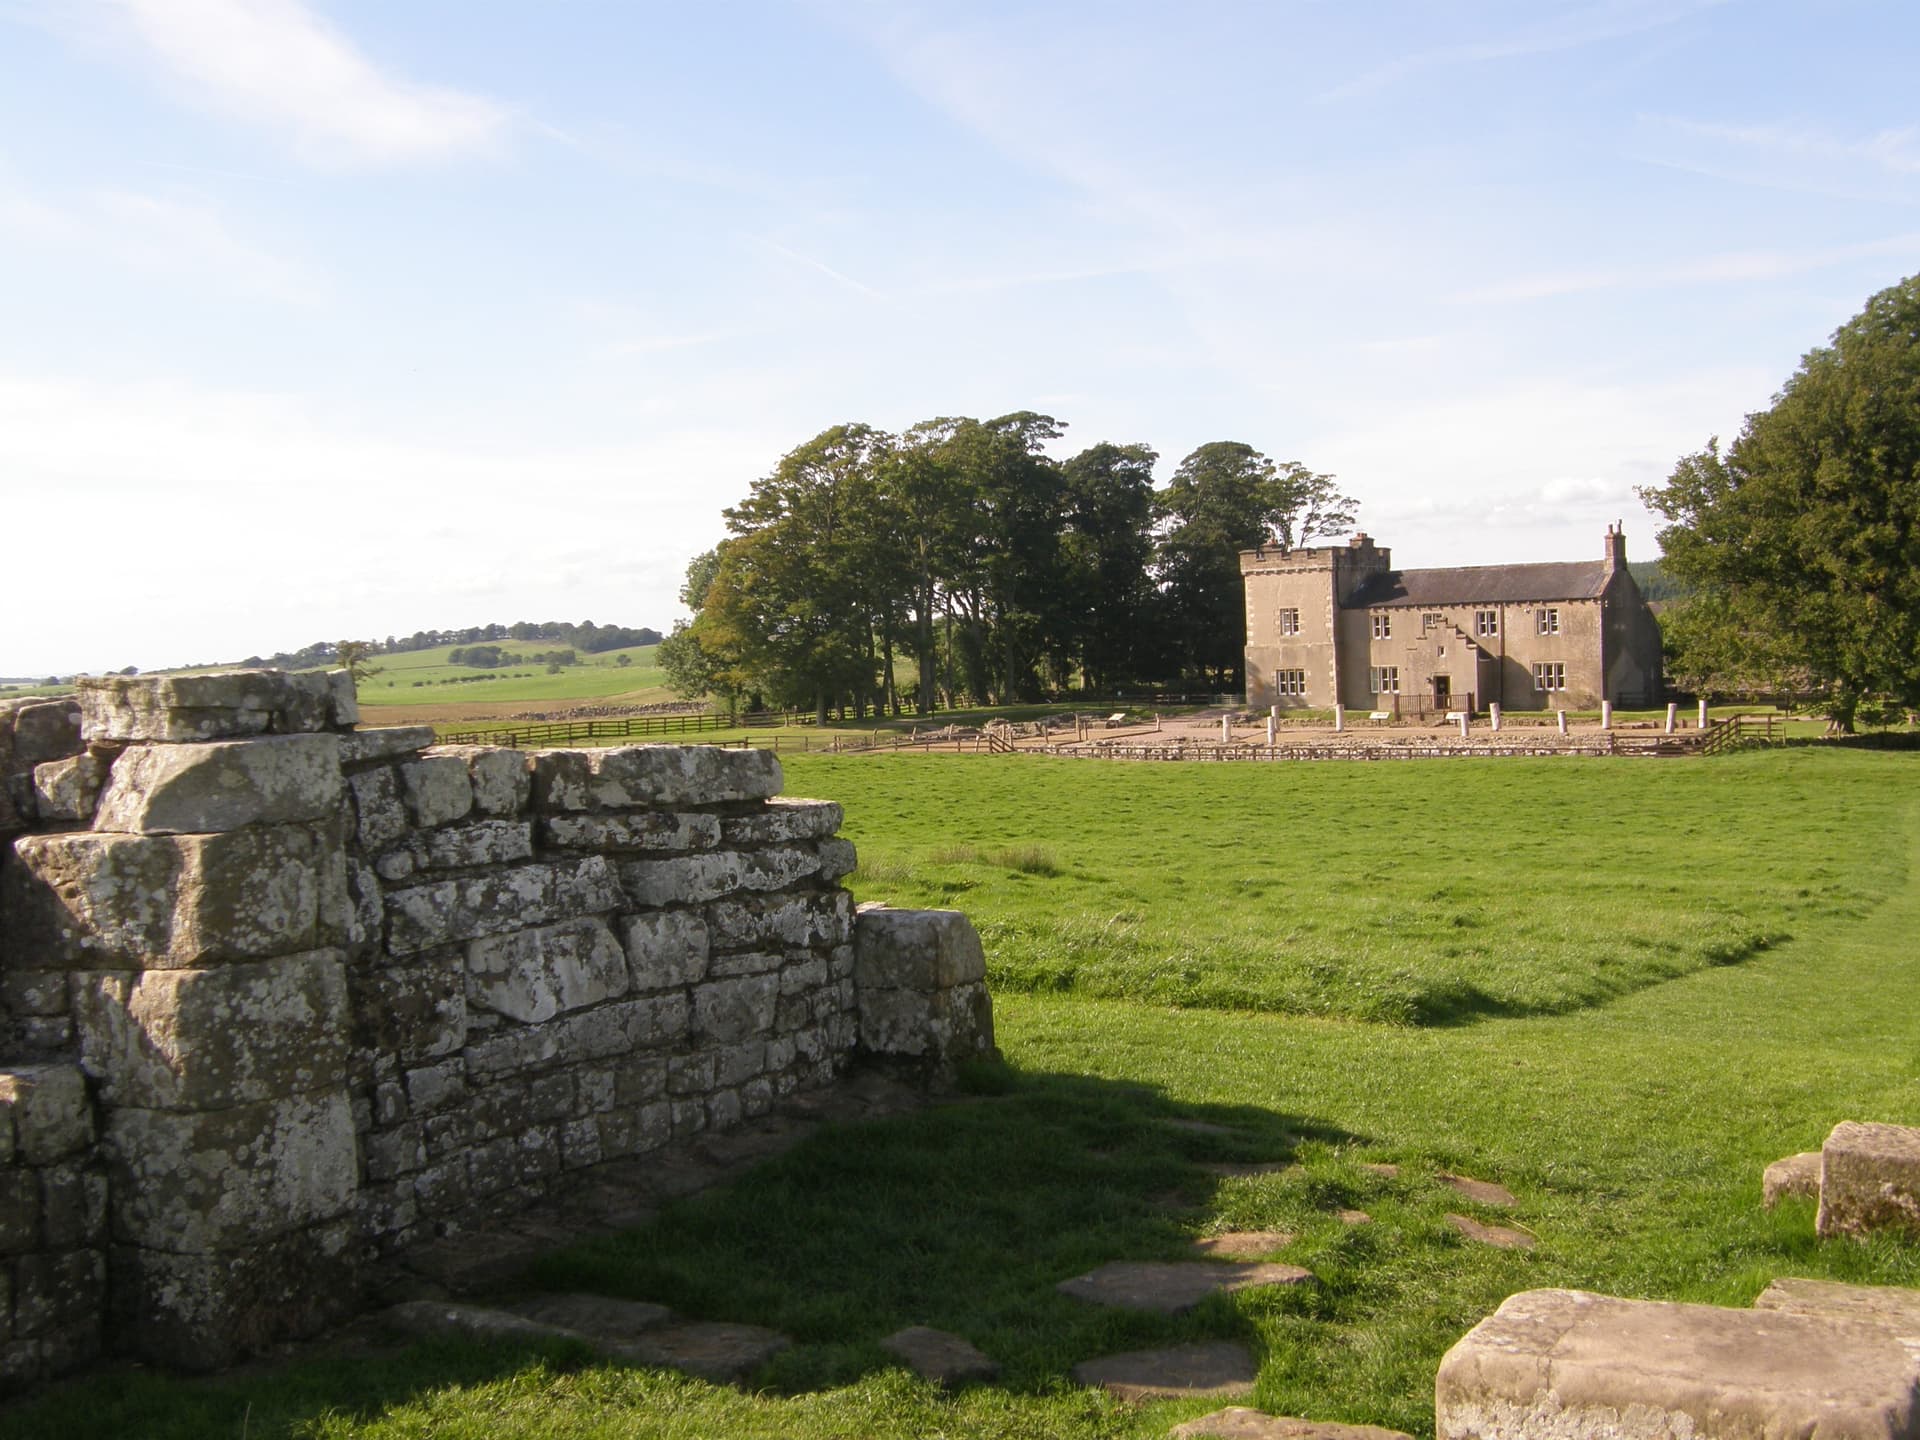
Probably known to the Romans as Banna, Birdoswald was one of about two dozen major Roman military bases that were situated at strategic points along or near the Wall (some of which predated the Wall itself by several decades, and not all of which were occupied at the same time). Birdoswald sits right on the Wall; like other forts in the area, it housed a garrison of non-citizen auxiliary soldiers levied by the Romans from provinces in their empire. The photo above shows the remains of the fort’s south gate and, in the background, a 17th-century farmhouse that has been recently converted into a bunkhouse. Both the Wall and the path run just on the other side of the farmhouse.
Turret 48a (mile 33)
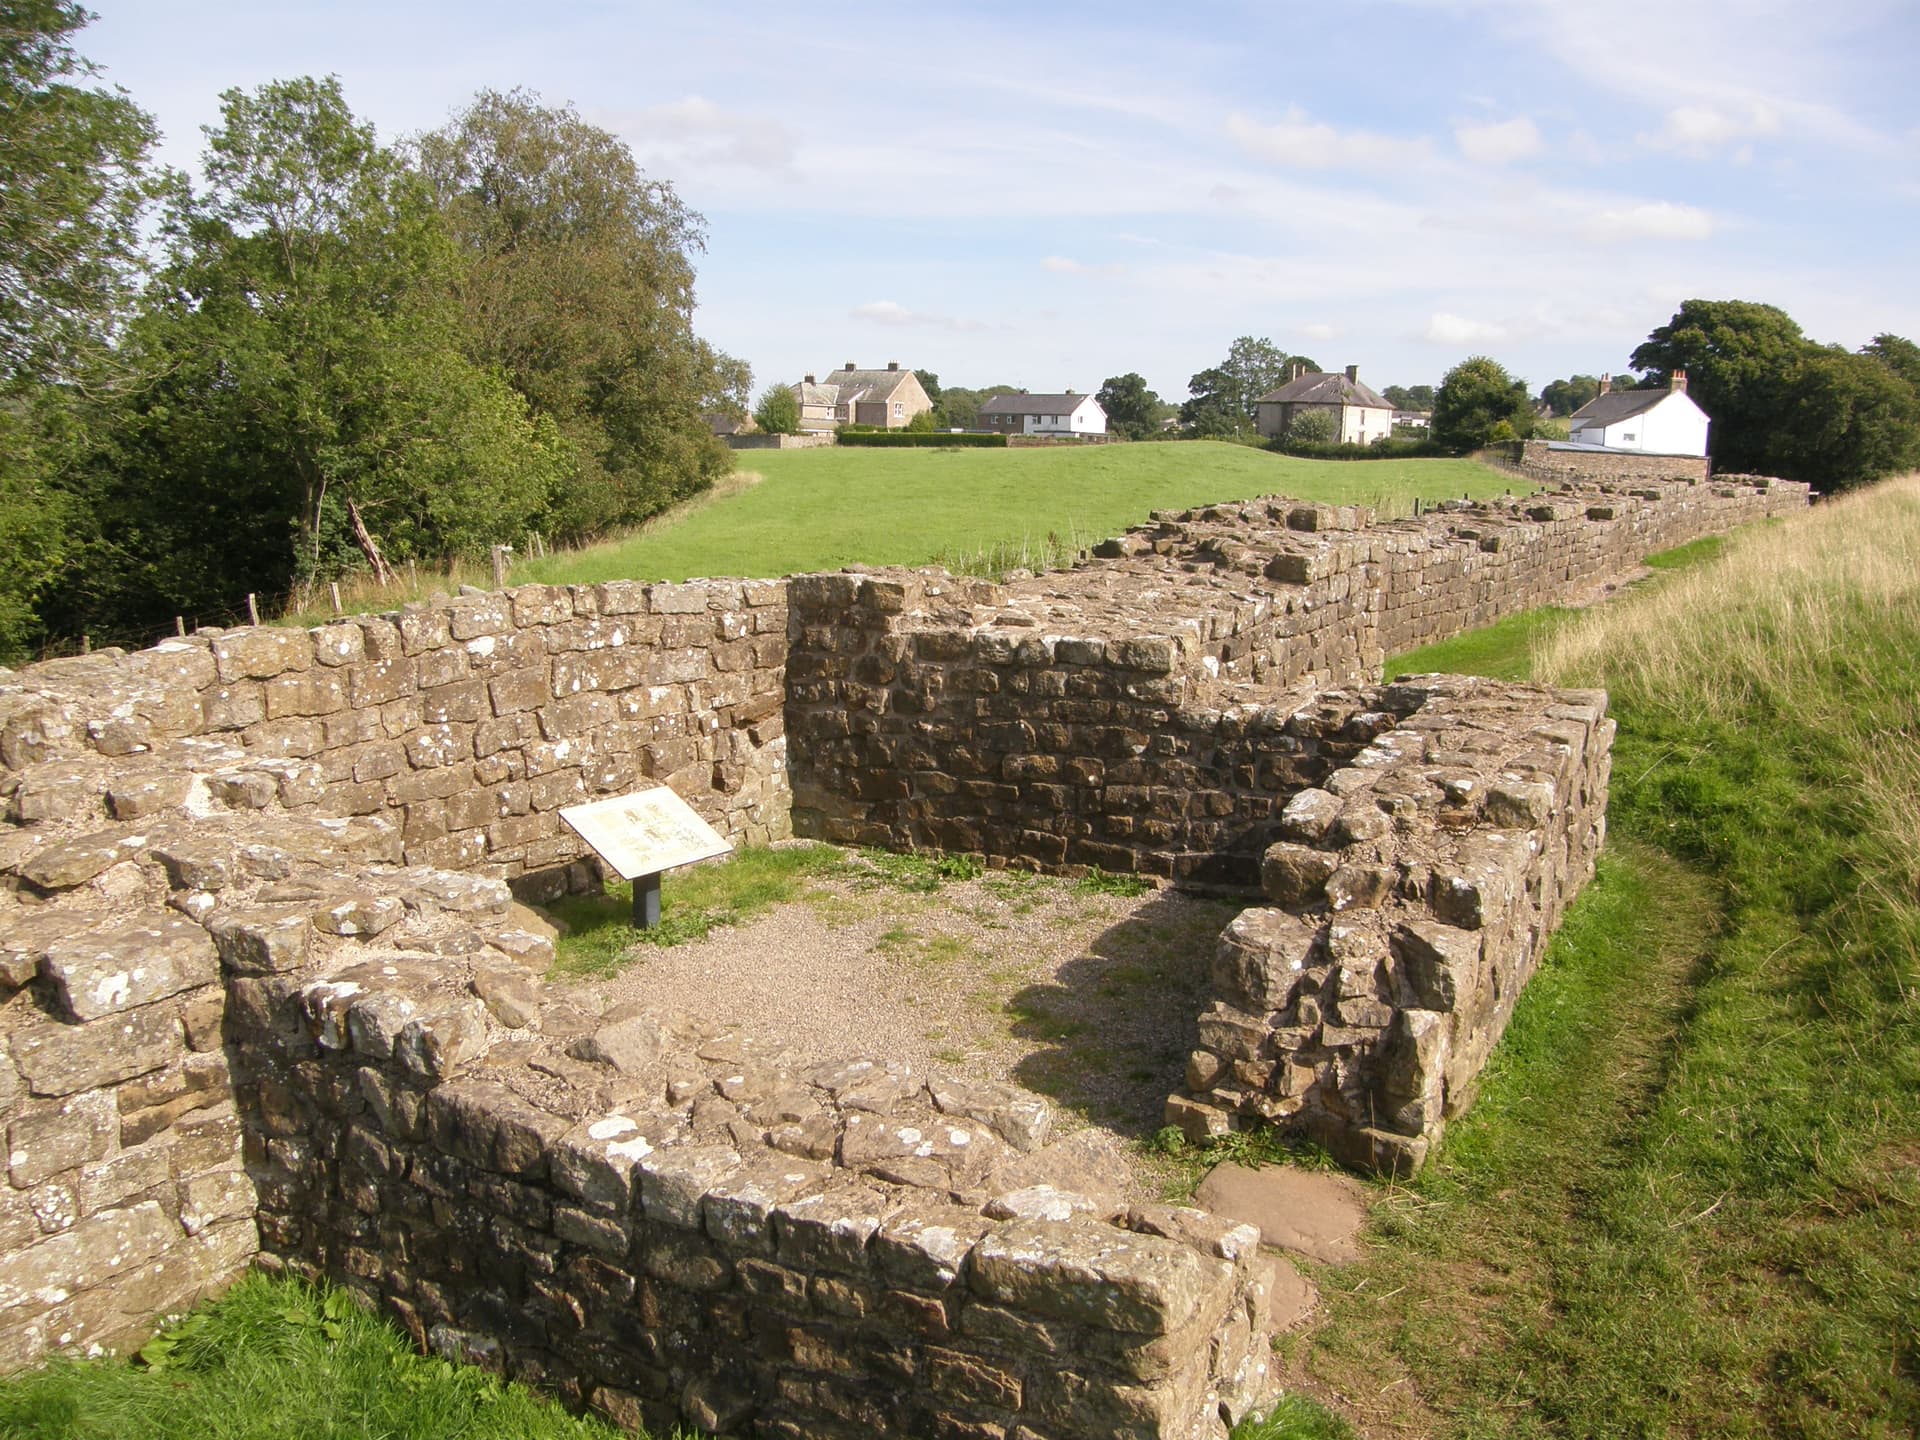
East of Birdoswald, hikers are treated to the longest and best-preserved sections of the Wall that have been consolidated by English Heritage. This section sits just to the west of the village of Gilsland (part of which can be seen in the background). The foreground is dominated by the lower courses of one of the observation towers (“turrets”) that the Romans constructed to house sentries along the wall; typically, each mile of wall had a garrison house (“milecastle”) at either end, and two turrets like this between the milecastles.
Modern archaeologists have created an indexing system to designate milecastles and turrets by numbers and letters. Milecastles are numbered sequentially by Roman mile, beginning from the Wall’s eastern terminus at Wallsend in Newcastle; turrets take the number of the milecastle immediately to their east, and then either “a” (for the first turret one encounters moving westward from a given milecastle) or “b”. This is officially Turret 48a, i.e., the turret immediately to the west of milecastle #48.
Centurial Stone of Iulius Primus (mile 33)
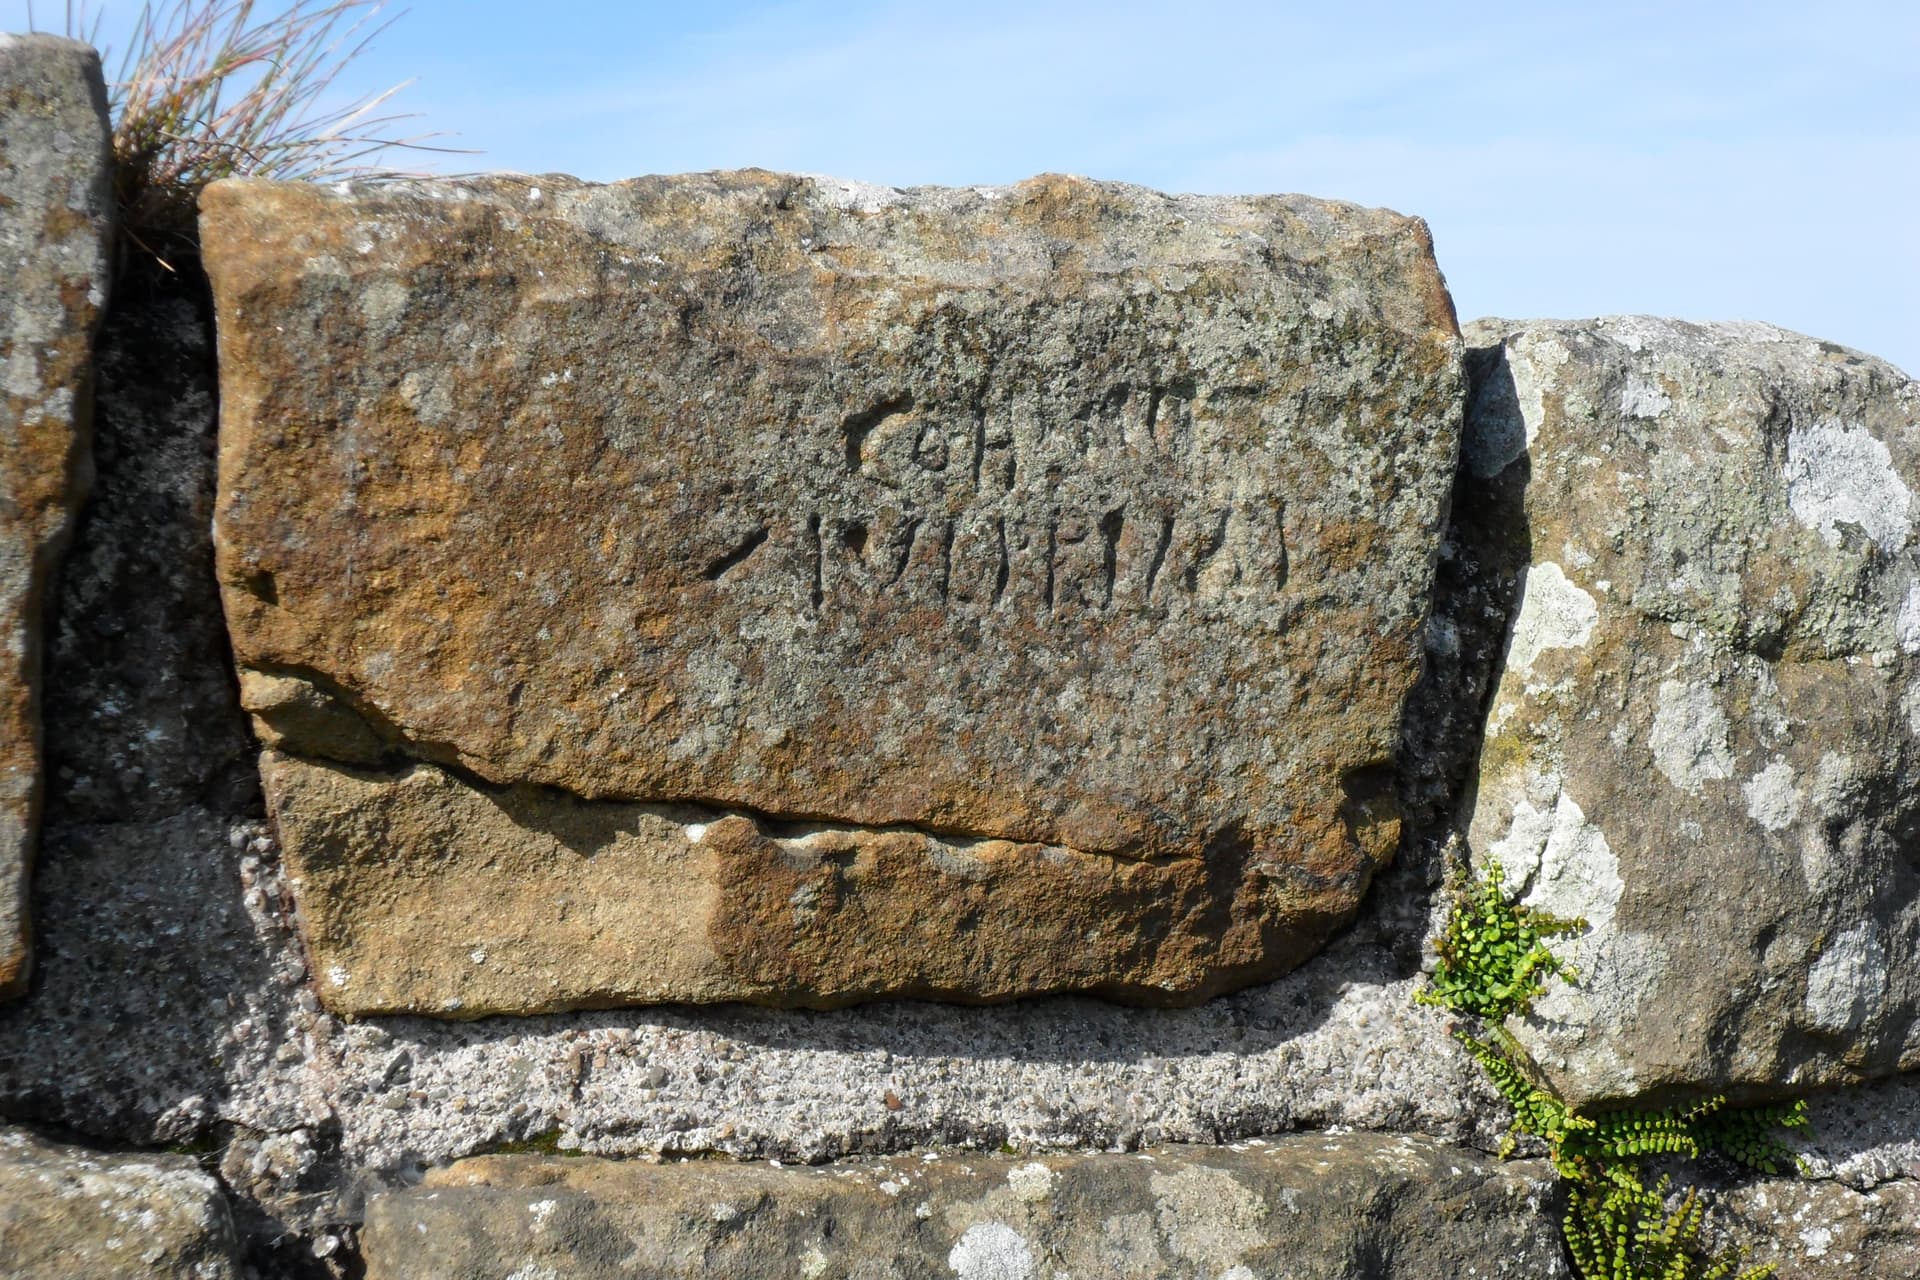
On the stretch of the wall just to the west of Turret 48a, hikers with sharp eyes can pick out a stone with markings chiselled onto its surface by the original Roman builders. It’s a great example of a “Centurial Stone”—an engraved stone recording the military unit responsible for laying the stonework along a particular stretch of the Wall, usually in lengths of approximately 25 to 35 feet. About 200 of these stones still survive, some (like this one) in situ, others in buildings constructed from plundered wallstone. The inscription on this one reads:
COH VIII
IUL PRIMI
Roughly translated, “this chunk was built by the soldiers of Iulius Primus’ century, which is part of the eighth cohort” (a legion in the second century CE typically consisted of ten cohorts, most of which were subdivided into six centuries, each manned by about 80 soldiers under the command of a centurion).
Continued in Part II!